Making NX22
Agenda
1. Overview
2. Componets
3. Assembling
4. Motion
5. Sketch
6. Motion check
1. Overview
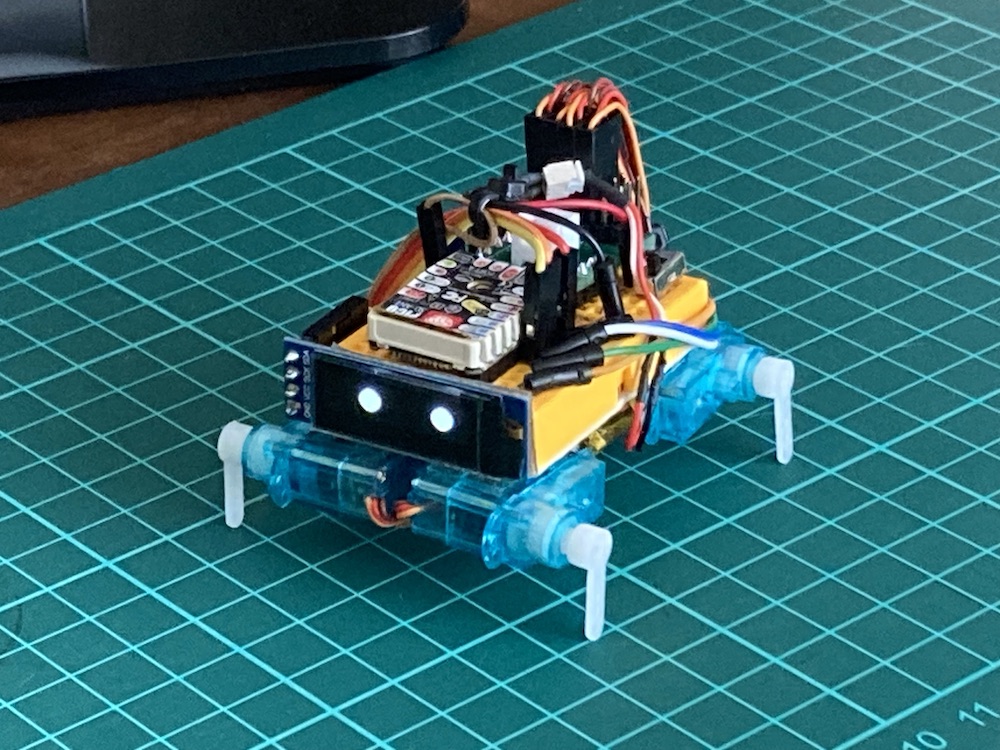
I made a quadruped robot with four axes using M5Stamp Pico of the M5Stack series
2. Componets
1)M5Stamp Pico
2)Servo FEETECH FS0403 x4
3)Battery Lithium ion polymer
4)OLED SSD1306
The wiring is as follows.
3. Assembling
Assembling is done as follows. Glue with hot glue.

4.Motion
In order to advance on four axes, ingenuity is required.
Forward (Reverse is the opposite action)

Right turn (left turn is the opposite action)

5.Sketch
I wrote a detailed Sketch on Github, so please refer to it.
Sketch Github
6.Motion check
This time, in addition to moving forward, backward, turning left and right, we added the movement of raising the front leg.
You can also change facial expressions with the OLED display. blink eyes
Update
- 2023.7.9Created a page of NX22 Making 4 axis & 4 leg robot with M5Stamp PicoNEW